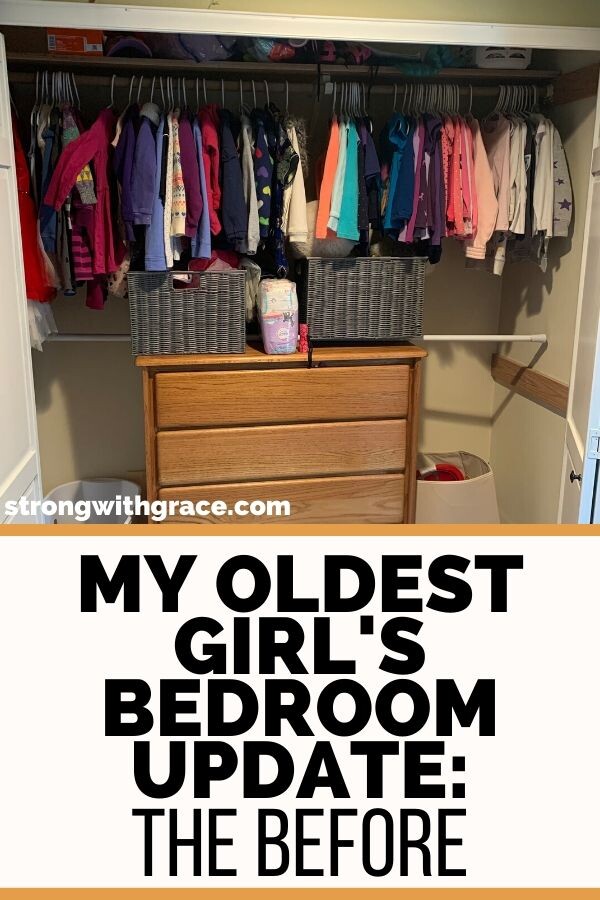
As her kids got older, Heather decided to move her oldest to her own room. See the bedroom update plans and the before photos of what needed to change.
We hope you enjoy the products we recommend! This post may contain affiliate links. That means we get a portion of the commission if you click through and make a purchase, but you don’t pay a cent more. Thank you for supporting our small business as we strive to help you rock mom life!
When we moved to the Seattle area, our older two requested to continue sharing a room. As 5 and 2 year olds, they enjoyed sharing the same space. And keeping things consistent helped them through the transition to a new place.
Fast forward 9 months and now we have a 6 1/2 year old first grader and a three year old still sharing a room.
They still love each other to pieces, but our oldest has begun to pine for her own space. Since we have the extra space, hubby and I agreed that she could get her own “big girl” room.
Resources We Used And Items We’re Planning To Include:
- Existing white ruffle pillows
- Frozen 2 Blanket
- “New” hand-me-down dresser from friends
- Purple Drawer pulls
- Clothing rod
- Shelf & rod supports
- Wooden shelf
- Hanging cubbies
- Metal tray for jewelry
Table of Contents
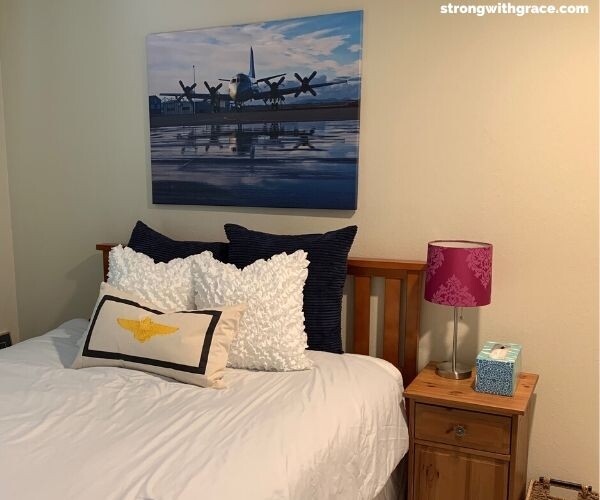
Guest Room Photo, BEFORE:
I had finished the guest room with a simple style of navy and white. The airplane theme fit nicely with all hubby’s aviation pictures and artwork we had in storage.
Much of the room was a montage of decor items I’d saved and remnants from our pre-married days. The headboard was his and the side table was an Ikea purchase of mine from almost 20 years ago.
Why Does She Need Her Own Room?
Reason #1:
In her short 6.5 years, our oldest has lived in 6 houses. She’s both had her own room and shared with her middle sister at different times.
The room sharing situations always had their pros and cons, and in each house that they shared a room, mostly we ended up putting them down in separate rooms and moving them back together after they fell asleep.
(Mommy and daddy didn’t want to spend their whole evening trying to keep kiddos from staying up too late.)
In our current house, our oldest went to bed in the guest room 99% of the time. We figured that at this point we could officially make it her room.
Reason #2:
Our oldest is getting to an age where she desires privacy. She loves her sister but doesn’t always want her rifling through her jewelry and fairy wands and getting into her business while she changes clothes.
Reason #3:
Add to that, there’s a 3.5 year age gap between the two. While the oldest is reading chapter books, going to elementary school and doing math, the middle is playing with Minnie Mouse Duplos and still wearing pull-ups.
They absolutely are each others best friends, but they are different enough to need some space too.
Choosing Her New Bedroom Location
We chose the guest room as the best room to transform into our oldest’s room.
Why? It was the perfect location choice, for one, because as I mentioned, she was already sleeping there.
We would occasionally move her into her actual bedroom once the house quieted down or if we needed to get something out of the guest room.
It also made sense to use that room because the room sat empty and therefore existed as wasted space most of the time. We knew we could easily move her to our trundle bed or put a mattress in another room when we host guests.
When Will We Do The Bedroom Update?
The project is already underway. We are doing it slowly and gradually, but it’s been so much fun, I wanted to bring you in on the process! I’m guessing it will take a few months overall because any painting of furniture will have to happen later in the spring or summer.
Bedroom Update Task #1- Updating The Guest Room Closet
In my brainstorming for this project, I figured out that the most important first step was to add another clothing rod to the guest room closet. The closet only had a very high rack that we used for hubby’s uniforms and our extra coats.
Our 6-year-old couldn’t reach it even if we cleared it out for her. Instead, we chose to leave our stuff on the high rack and build her another rack down low. It was a win-win because we doubled our storage in that closet!
In addition, we had a hanging cubby in the closet previously. I left it there on the upper rack, even though the lower cubbies are unusable. This gave her a few additional square feet of shelf space without costing us a dime.
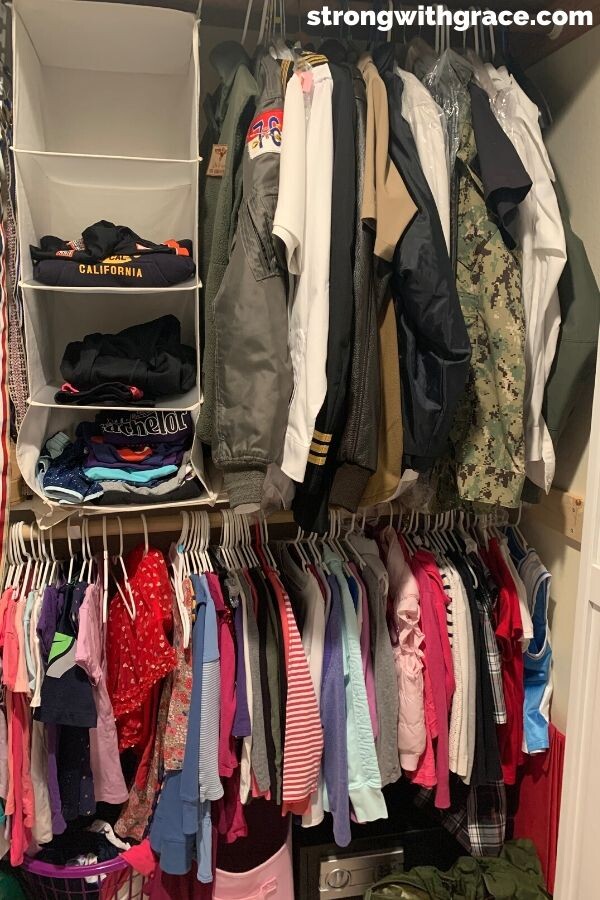
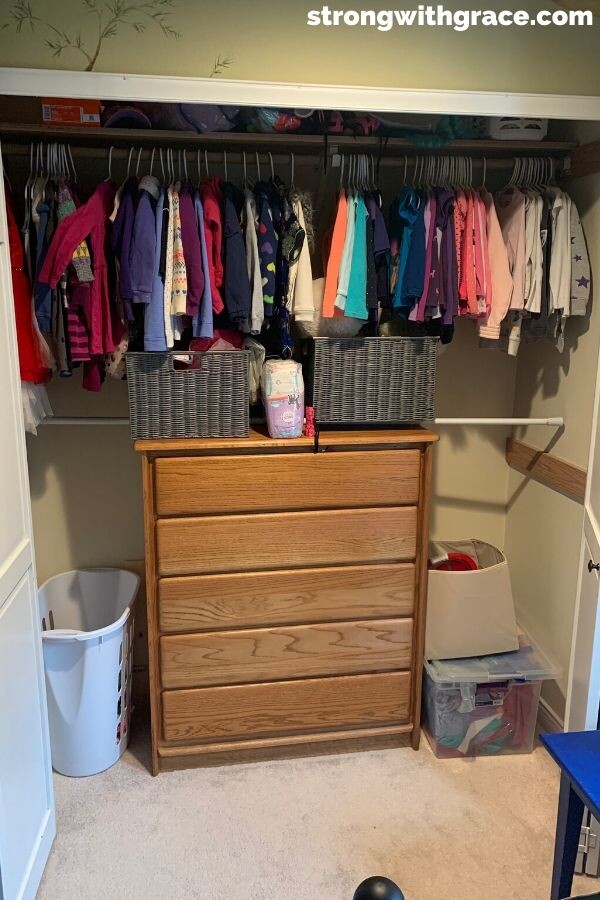
The above picture shows half of the closet.
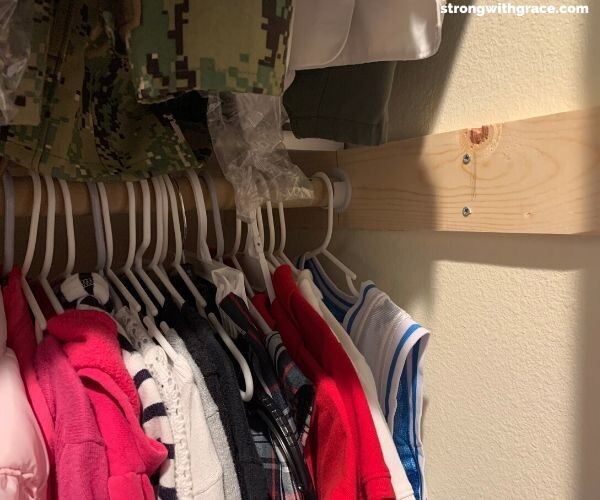
We live in a rental, so we didn’t want to go crazy with a remodel. However, my hubby worked some magic and was able to install a shelf above the lower rack. He replicated the style and structure of the existing upper shelf so it would match.
As you can see below, she won’t be able to use the shelf much, but we decided to install it anyway for future use.
I don’t have a “before” pic of that closet, because I didn’t think about sharing the project with you until we’d already finished that part. Darn!
But here’s a pic of the bedroom next door which also only had an upper clothing rod. This should give you the basic idea of what the other one looked like.
Below hubbies uniforms we stored our favorite coffee table and some tubs. (As a military family, we hang onto certain unused furniture pieces instead of getting rid of them. We move so often that in a couple of years, the item may fit perfectly into our new space.)
As you can see, when we moved in I used a portable shower curtain rod to make a lower rack for the two older girls who shared this room. Now I’m about to take out the portable rod and we’ll move the dresser out so hubby can install a lower clothes rod in this closet as well.
Bedroom Update Task #2- Moving Clothes + Fixing The Dresser
Next, I started moving her clothes over from the old closet. But before we could move all the clothes from her old dresser, hubby had to fix the new dresser.
Last summer, some friends gave us a dresser they no longer needed. It needs a little TLC still, but it’s very functional. It’s missing a drawer pull too, so I’m excited to use that as an excuse to change out the pulls altogether in exchange for some cute ones.
My daughter would LOVE ones like this below. I have to measure the width of the wood and consult the little miss before making a final choice.

We had originally planned to use the gifted dresser for our youngest who didn’t have a full-sized dresser yet. But with all the room-shifting and closet exchanging, she’ll now end up with a different one.
Hubby had to fix the drawers, so once he did that, we could move her stuff in. Due to his grad school schedule, he was only able to fix 2 of the 3 drawers thus far, so we’re waiting for that to get done.
After he’s finishes that up, we can complete the clothing move.
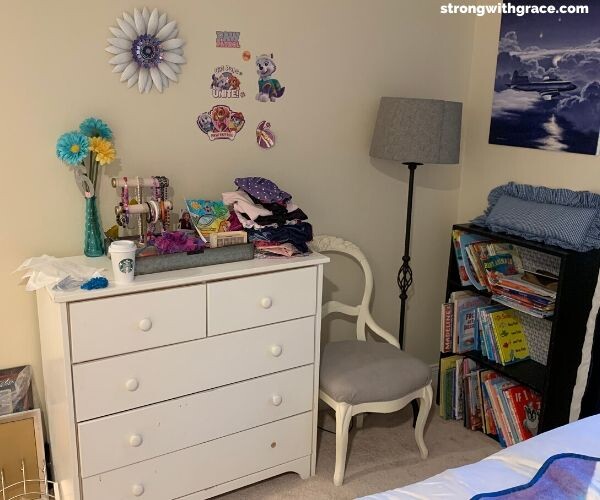
In this pic below, you can see another of hubby’s airplane pics that we need to move. Also, the tray on top is new from TJ Maxx. I couldn’t find it online to link to, but it’s similar to this one on Amazon.
What’s Left To Do On This Bedroom Update?
I have several things in mind to do with this room:
- Figure out shoe storage
- Fix lowest dresser drawer
- Add drawer pulls
- Find cute art for behind bed and dresser, in same color scheme as Frozen 2 blanket
- Paint/stain headboard (thinking white or gray– any suggestions?)
- Paint/stain side table (to match dresser?)
- Remove unused art from sitting against the wall
Transitions and More Transitions
Since she kept having to pop into her old room for her pants, I went in while she was at school and got the rest of all her clothes out. That’s why you can see a pile of clothes on top of the dresser in the above pic.
Now, at least we can both feel like she’s in one place instead of split between two rooms. (It was bothering me more than it bothered her!)
Also it makes room for my next project, which includes rearranging the dressers in the old room and moving the youngest in so the younger two can share.
This scares me because they have very different morning sleep schedules… my middle wakes up early, around 6:15. My youngest can sleep until 8 or even 9 sometimes. We shall see how that goes!
I hope you enjoyed the “before” of our oldest girl’s bedroom update! Stay tuned to get more in-progress details soon!


